Difference between revisions of "HowTo: Student Fellow Blog Posts"
From Earth Science Information Partners (ESIP)
Annieburgess (talk | contribs) |
Annieburgess (talk | contribs) |
||
| Line 17: | Line 17: | ||
* This post is NOW published to the ESIP site and promoted to the front page. | * This post is NOW published to the ESIP site and promoted to the front page. | ||
Finish with social media tag line: | Finish with social media tag line: | ||
| − | == Drupal tips for images and text formatting | + | == Drupal tips for images and text formatting == |
| − | * Use your favorite photo editor to modify images - Drupal is not a great place to do your photo edits. | + | * Use your favorite photo editor to modify images (crop, add text, etc...) - Drupal is not a great place to do your photo edits. |
[[File:Thumbsup.png| border|400px]] | [[File:Thumbsup.png| border|400px]] | ||
| − | * | + | * You have to upload photos one at a time under under "Add new file" |
| − | * | + | * Click on the uploaded file you want to insert. |
* Right click on image and select "Copy image address" | * Right click on image and select "Copy image address" | ||
[[File:Rightclick.png| border|400px]] | [[File:Rightclick.png| border|400px]] | ||
| − | * Select the image icon | + | * Place your curser in the text where you would like the image. |
| + | * Select the image icon. | ||
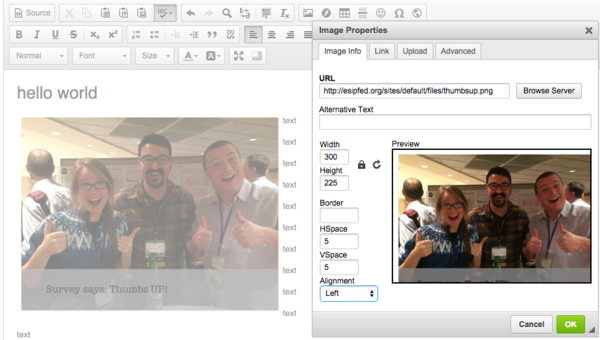
* Paste the image URL + select appropriate size | * Paste the image URL + select appropriate size | ||
[[File:insertimage.png| border|600px]] | [[File:insertimage.png| border|600px]] | ||
Revision as of 11:50, January 15, 2016
Instructions for posting to the Commons
- Login to esipfed.org
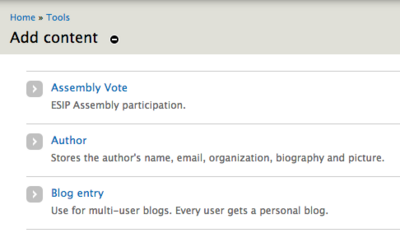
- From the black bar at the top, select "Add content"
- Select "Blog entry"
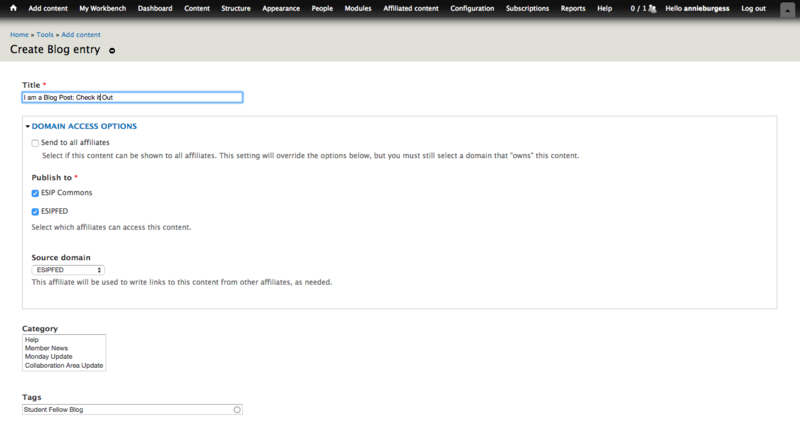
- Add title
- Tag the post Student Fellow Blog
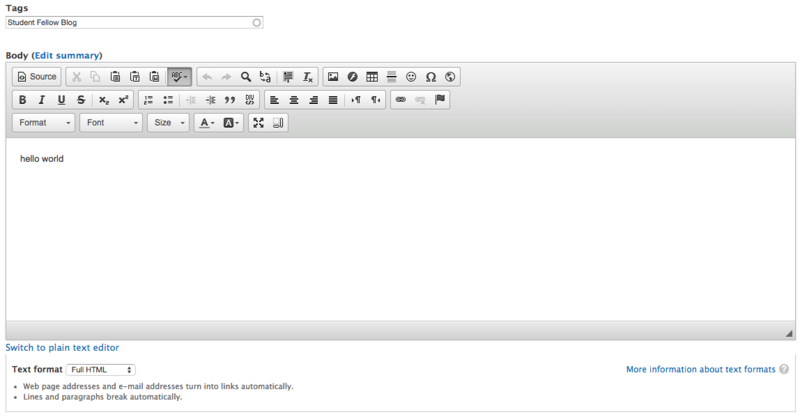
- Under Text Format select "Full HTML"
- Add your text.
- If you want to add images, see the next section. *Good images can make a post POP!*
- NOTE: Your post is not published yet.
- When you are ready, select "Publishing Options"
- Select the box "Published"
- This post is NOW published to the ESIP site and promoted to the front page.
Finish with social media tag line:
Drupal tips for images and text formatting
- Use your favorite photo editor to modify images (crop, add text, etc...) - Drupal is not a great place to do your photo edits.
- You have to upload photos one at a time under under "Add new file"
- Click on the uploaded file you want to insert.
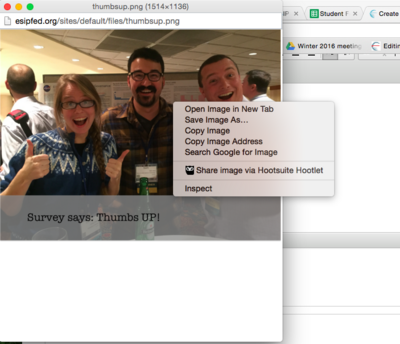
- Right click on image and select "Copy image address"
- Place your curser in the text where you would like the image.
- Select the image icon.
- Paste the image URL + select appropriate size
